Back to Maintenance Manager for Manufacturing Main Menu
Adding and Managing Locations
The Manage Locations feature allows Administrator to add, view, edit and manage locations from site level down to individual buildings, floors, areas, and rooms.
Adding a New Location
-
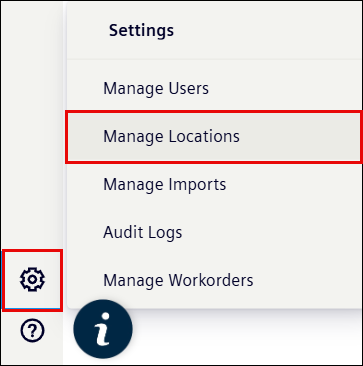
Navigate to the
 (Settings) icon.
 -
Click the Manage Locations.
-
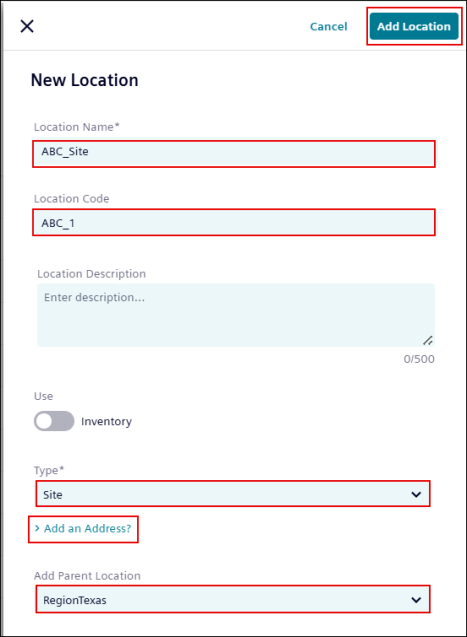
Click the New Location button at upper right corner of the page.

-
Enter the Location Name.
-
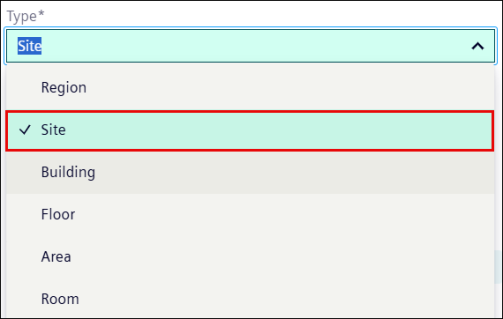
Click the Type drop-down list to select the location Type.
-
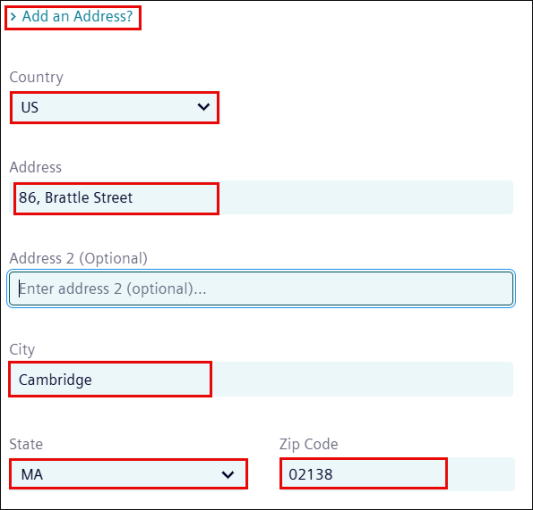
Click the >Add an Address? and fill in the given requirements.
NOTE
* Fields marked with an asterisk (*) are required fields.
* >Add an Address? field only appears for the Site, Region, and building location types.
7. Optionally, provide any of the following details:
- Location Code
Location Description
Enable the Inventory toggle if the location is used for inventory management.
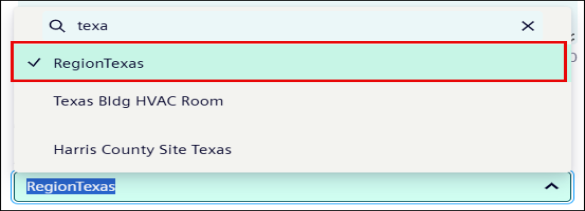
Click Add Parent Location and then choose a parent location from the list or enter a location name to search for available options.\

-
Click the Add Location button.
Once the location is added to the system it appears in the manage location list.
Managing Locations
Searching for a Location
-
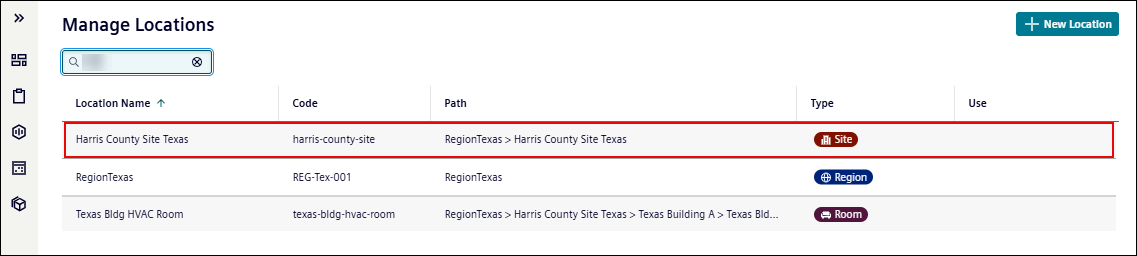
In the search box at the upper-left corner of the page, enter the Location name or Code.
-
Review the matching results displayed in the location list.

Updating Location’s Details
-
Click the location row in the location list.
-
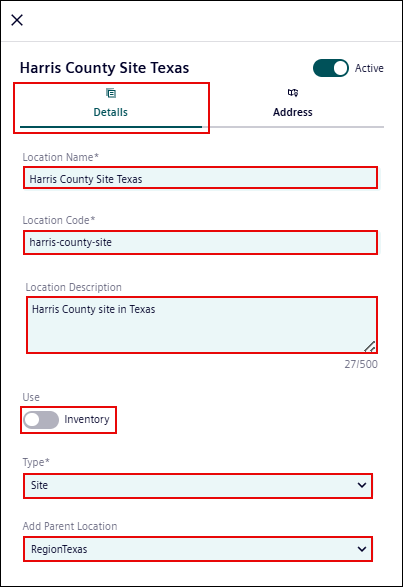
Update the following details as required:
-
Location Name
-
Location Code
-
Location Description
-
Turn On/Off the Inventory toggle switch
-
Type
-
Add Parent Location
-
Go to the Address tab.
-
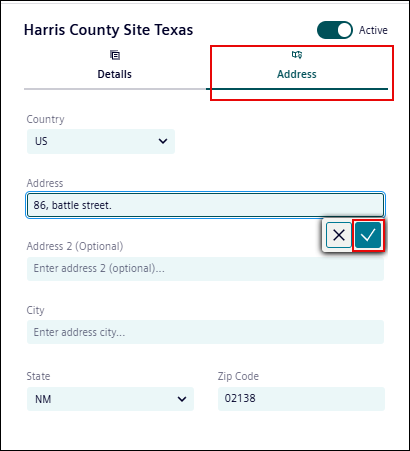
Update Address Details as required.
-
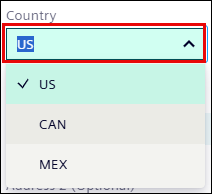
Select Country from the drop-down list to update a country.
-
Update the address in the Address field, then click
 to save or
  to discard the change.
 -
Repeat the same process for Address 2, City, and Zip Code.
-
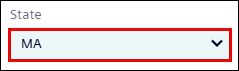
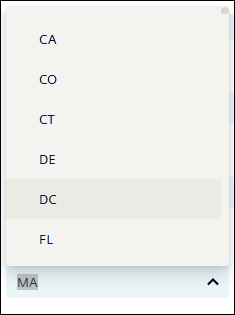
Select a State from the drop-down list to update a state.
Deactivating/Activating Location
To Deactivate a Location:
-
Click the location row in the location list.

-
Turn off the Active toggle switch to deactivate the location.
A pop-up deactivation confirmation message appears.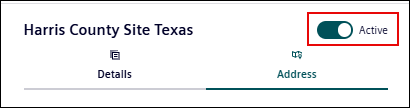
-
Click Deactivate.
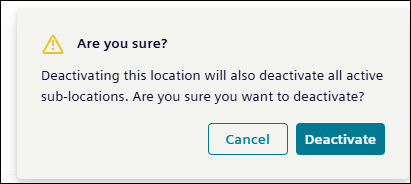
NOTE Deactivating a Region, Site, or Building also deactivates all active sub-locations within that location hierarchy.
To Activate a Location:
-
Turn on the inactive toggle switch to activate the location.
A pop-up Reactivation confirmation message appears.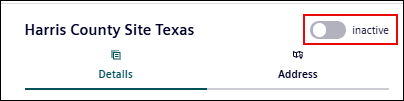
-
Click Reactivate to activate the location.
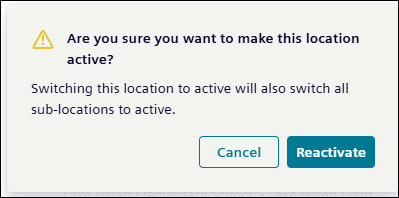
NOTE Reactivating a Region, Site, or Building also reactivates all active sub-locations within that location hierarchy
